By Ashley Peterson
The 14ers I have completed are all over the board in terms of difficulty, but I find the most challenging and spicy to be the most fun, so in this article I am going to talk about the most difficult and enjoyable 14ers that I have completed thus far: 30 as of Dec. 14!
While I have yet to complete ALL the spicy 14ers, to date I have completed the two hardest and one of the four “great traverses of Colorado”. A little background: there are four traverses between 14ers in Colorado that are renowned for being both tough and impeccably beautiful.
The tough climbs I have completed are Capitol (14,130’) and Little Bear (14,037’), as well as the Traverse between Crestone Peak (14, 294’) and Crestone Needle (14,197’). Please read all about these routes on 14ers.com and AllTrails (if applicable) before attempting any of these and do not forget a helmet.
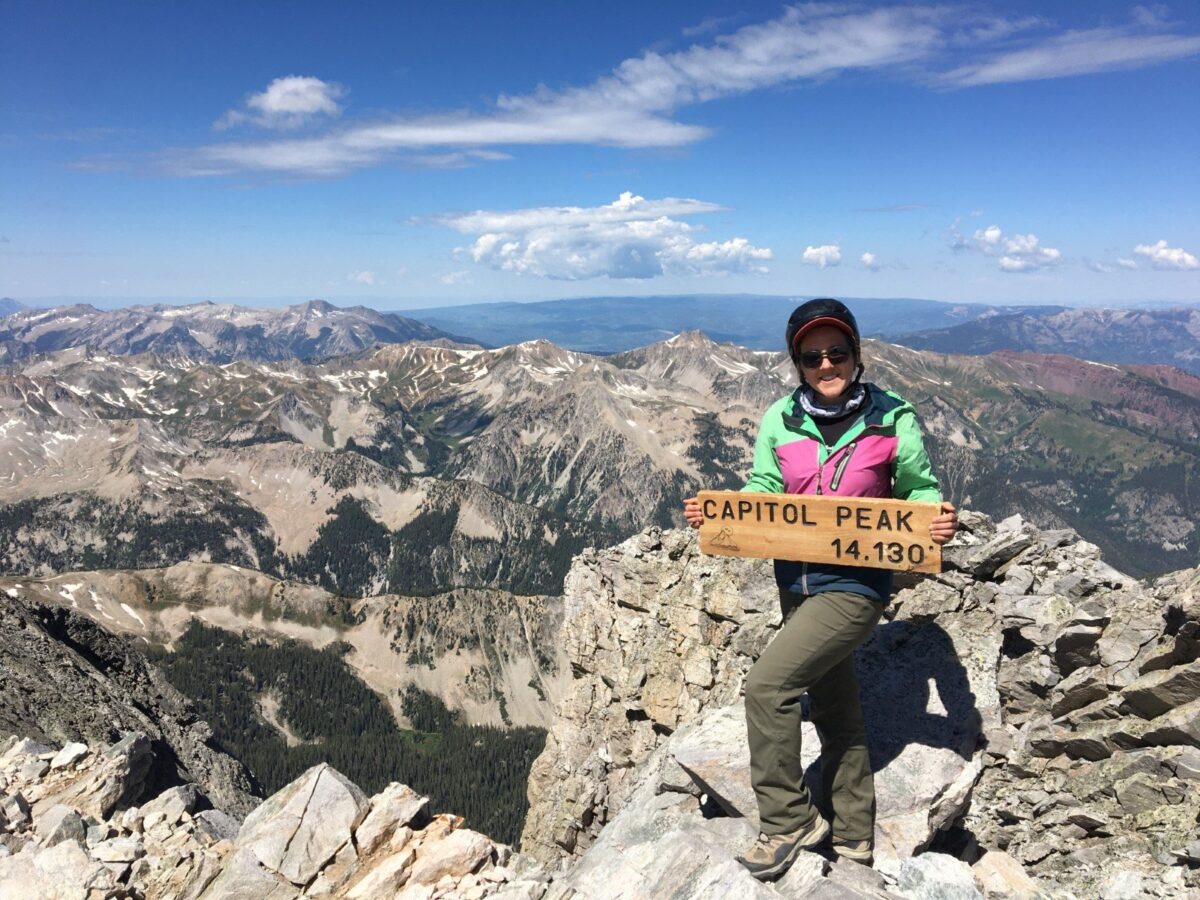
Ah, Capitol: the grand hurrah of all Colorado 14ers. It’s worth the hype! 14ers.com gives a clear warning in all caps at the beginning of the route description about the potential perils that may await you on this mountain. The hike is Class 4 (if you are unfamiliar with hiking and climbing classes, check out this website for more information) and spans 17 miles with over 5,000’ of gain.
Capitol is a lot! The good news is that about 5 miles up the trail there are some great campsites by Capitol Lake, and I cannot stress enough that you should camp here and head for the summit the next day. My friend Brad and I camped here, and we are so glad that we did.
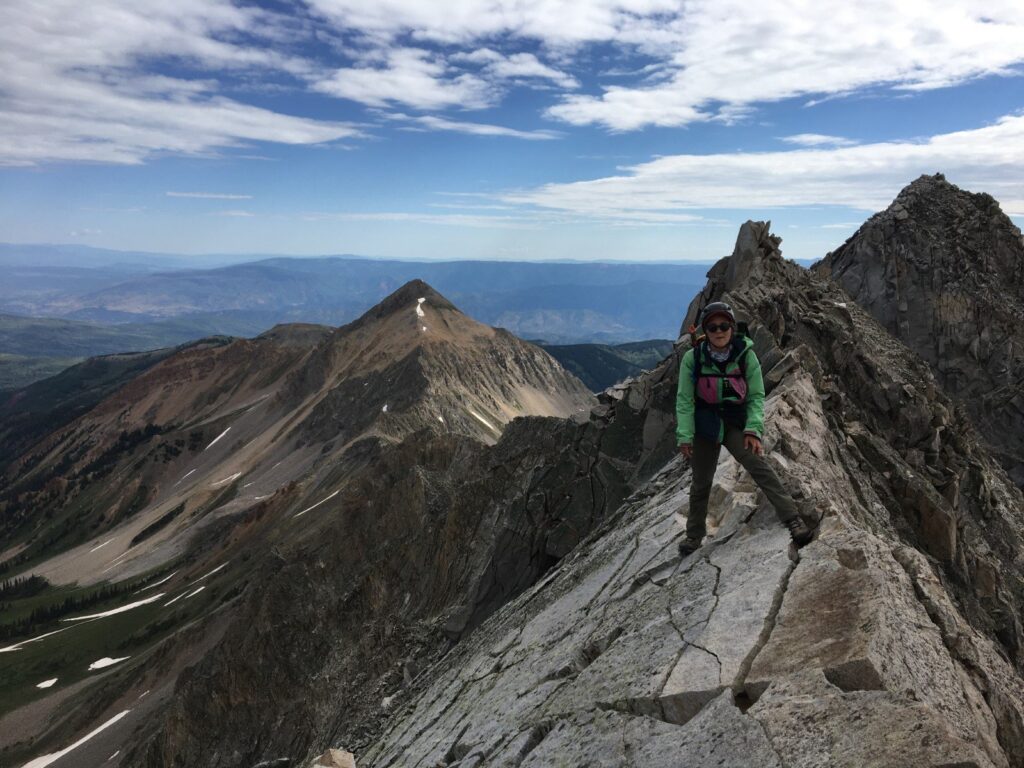
This is a long, difficult hike and doing it over the course of two days is preferable. The hike up to the lake is Class 1 and quite easy, but then the next half mile or so features some grueling switchbacks (still Class 1), and shortly after the fun really begins. There is some classic rock scrambling here for quite a while before you head right and gain the ridge near K2.
You can summit K2 if you are really feeling it, otherwise continue along an exposed ridge on Class 2-3 rock before hitting the infamous Knife’s Edge, which is a super exposed section where you are perched on a sharp, narrow edge. Some people scoot across it, straddling the edge itself.
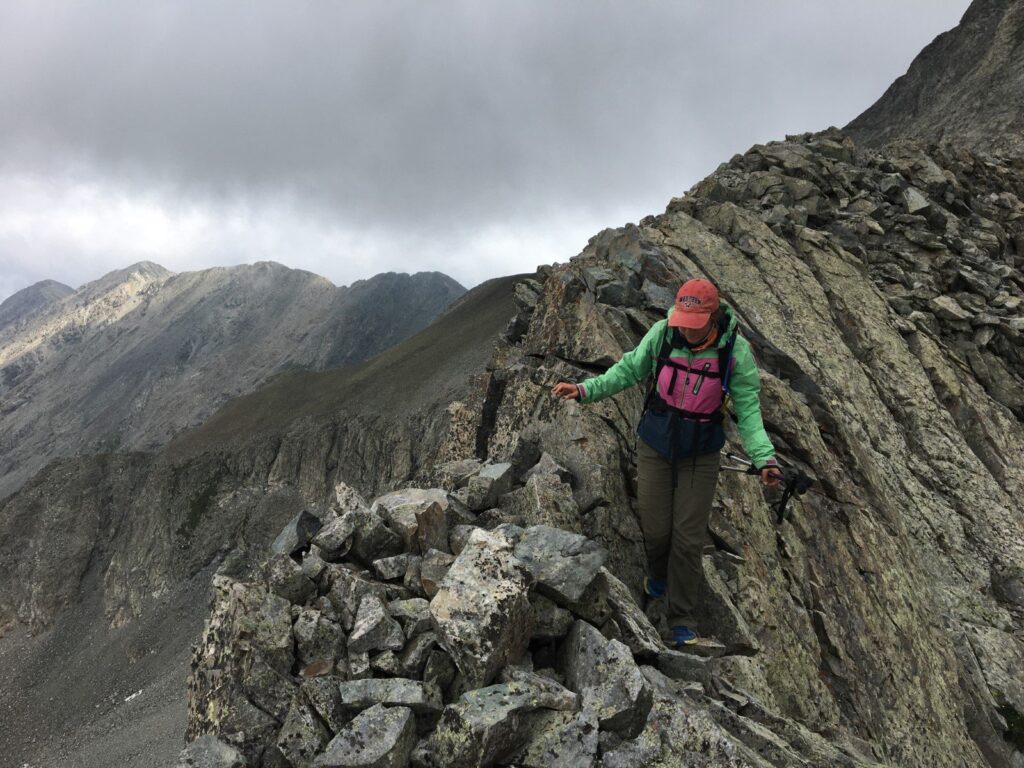
After crossing, you continue class 3-4 rock until the summit. It takes a long time to move across this rock so give yourself a lot of time for this section.

We were exhausted at the summit and had to prep ourselves for the long, grueling way back down, but the views were phenomenal! We did this hike this past 4th of July weekend and there was enough snow to do some glissading (snow sliding) on the way down. There were not massive crowds like you would expect on a 14er on this Holiday weekend because the daunting task of the Knife’s Edge and the grueling miles both before and after keeps most people away.

Little Bear is another great 14er to sink your teeth into and make a weekend out of to bag the other 14ers nearby. The hike up to Lake Como is about 5.5 miles, depending on where you park on the 4×4 road. From Lake Como, the hike to Little Bear’s summit is 3.5 miles. But to reach the summit, you will need to pass the fear-conjuring Hourglass. To put your mind at ease, the Hourglass was the most fun I had had on a 14er (up until that point).
It’s true that you need to be very wary of rock fall and people above you, but for me the worst part was the mountain of choss- incredibly loose rock, that must first be ascended before even getting to the Hourglass. This was the loosest vertical hill I have ascended, or descended, and it majorly sucked both ways. So be incredibly careful in this section! The Hourglass itself was fun climbing! The down climb is a little unsure, but there is a fixed rope there to help with the descent.

On a Friday, we hiked up to Lake Como and summited Little Bear. Another option is to hike in, camp, and hike Little Bear the next day. This was our original plan, but the weather on Thursday evening turned the trail into a literal river and made it impossible to hike up until the following day. The day after Little Bear, we hiked Blanca (14,345’) and Ellingwood Point (14,042’), as these 14ers can be done from Lake Como as well.
These peaks are both rated “difficult Class 2”, which I think is a fair rating. They are easy hikes and shorter lengths as well. There is a traverse between these two peaks, but the wind was so wild at the true ridge that we went a little below before regaining elevation.
There is a traverse from Lake Como to Ellingwood; on 14ers.com it is called the Southeast Ridge. If you attempt this traverse, please do your research, and I recommend coming up from Lake Como onto the southeast ridge and then heading to Ellingwood. From there, you can take the traverse over to Blanca and make something of a clockwise lollipop loop out of it. For the uninitiated: a lollipop loop is a route where the beginning and end are the same, essentially an out and back, but there is a loop hike in the middle, so if you were to trace your route, it would resemble a lollipop. We did it in reverse, counterclockwise, without much information on the SE Ridge of Ellingwood and it was not ideal, so I recommend going the way I described, not the way I went.
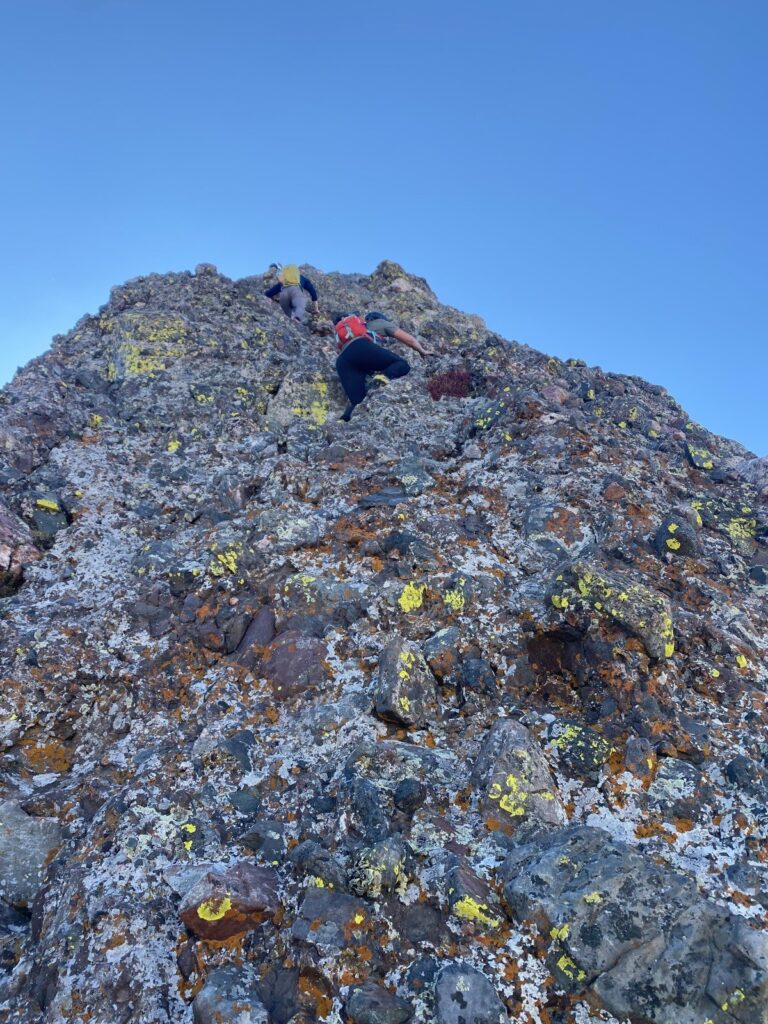
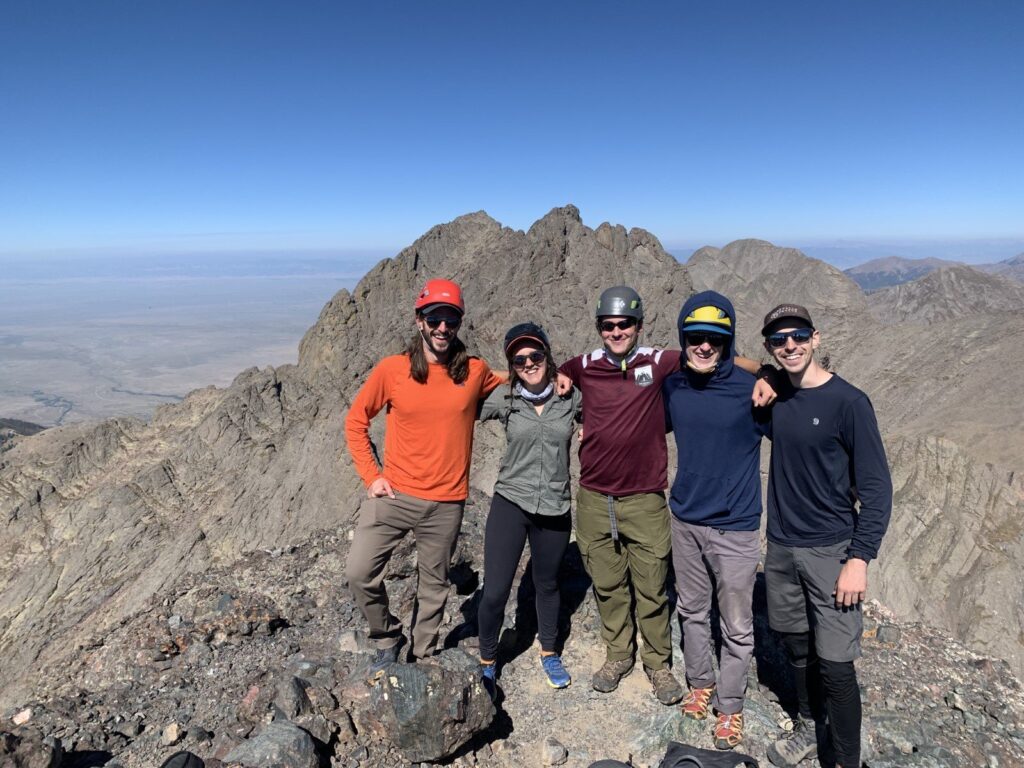
Now let us talk about the most fun I have had on a 14er to date! The Crestone Traverse is renowned as one of the four iconic traverses of Colorado 14ers and rightfully so. On the first day, you want to hike up to South Colony Lakes. We hiked in, found a campsite, and hiked Humboldt peak (14,064’). Humboldt is super mellow, and we still had most of the day to kill. I spent those extra hours nervously in the sun, staring at the Crestone Peak and Needle, anxious about what was to come the next day. The Crestone traverse is rated Class 5 because of one move that is rated a 5.2, I had also read a lot about the fear-conjuring Class 4 headwall that would need to be climbed at the end of the traverse to reach the summit.
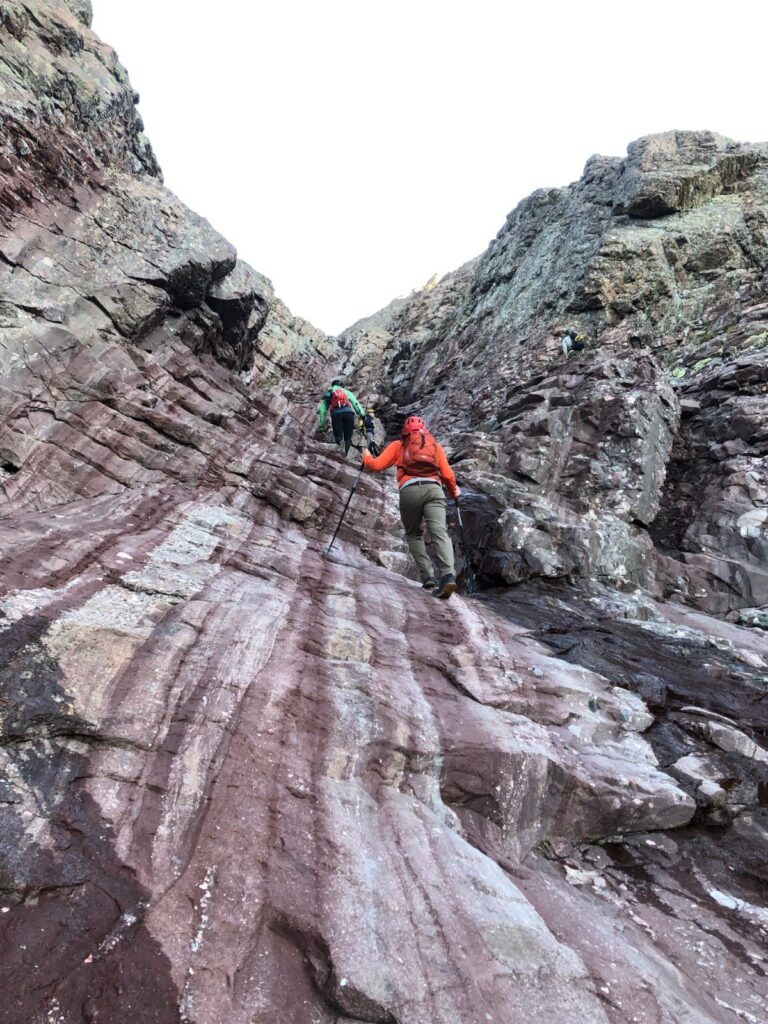
We started out early for Crestone Peak. We ascended the “red gully” and eventually made our way to the summit.
We met a few guys along the way, and we all teamed up for the traverse. All of us had the route photos on our phones and were well prepared for the adventure that lay ahead of us. The route was not too hard to follow and consisted of lots of fun Class 3 rock scrambling. A few sections were a little spicy, but I have certainly seen much worse. The first three-quarters of the traverse are mellow and you save all the fun stuff for the end, which is what makes this is a very committing route.
After a while, you reach the 5.2 move, it’s basically a big boulder that you have to climb up and over. Some people have brought climbing shoes for this part, but it is one move and over very quickly. We brought climbing shoes since we had heard of others bringing them, but we never ended up using them, so I would save yourself the weight and not bother.
The 5.2 move is simple enough to get over and once you have climbed that, you are right on to the knife’s edge of this climb.

Once you pass this much shorter knife’s edge, you have a bit of climbing to do before you reach the very infamous Class 4 headwall to the summit. This wall is the heady, exposed crux of the traverse. Everything you read about this wall strikes fear from the “any mistake and you’ll fall to your death” to “there’s no downclimbing and going back, once you’re here, you must go up.” Comments like this got me nervous. But when I saw the wall, I was pleasantly surprised.
The headwall was a breeze, and super fun! Since it is very exposed, I personally recommend not looking around too much till you reach the top, unless you are into that kind of thing. The holds are super solid, but of course you should test them before putting all your weight on one rock. Just be smart and it is a wonderful time. At the top, you have a short walk and then you are at the Crestone Needle summit!
You can descend the Class 3 or Class 4 route down the needle and back to the lakes, after hearing they were nearly identical, we chose the Class 3 route. Upon getting back to the lakes, we packed up our stuff and headed down to the trailhead. Quite possibly the most fun day I have had on a 14er, and one of the most fun days I have ever had, period!
These routes are not for beginners, and they do not lend themselves to solo hiking. I hike by myself a lot, but I try to avoid doing anything Class 3 and up solo. So, find some hiking and climbing friends and work your way up. Look at some of my other articles on easier peaks and climb them before making your way to these. Being well prepared sets you up for a successful, amazing day in the mountains.
For me, the difficulty is exhilarating, and the struggle makes the reward that much sweeter. It feels exponential; the harder a hike is, the more rewarding it feels at the summit. Growing up with four brothers, I learned a thing or two about competition, but these days I prefer competing with myself, challenging myself to push my boundaries and accomplish even more.
I have been preparing for all these hikes by running, lifting and doing lots of uphill hiking. My workouts have mountains in mind, and I train specifically for an easier day on the peaks. By the end of the summer, I was outpacing most of my hiking buddies and having a wonderful time doing it.
Have fun out there, and stay tuned for more recreation columns, including a winter 14ers piece!